The App virtual measuring room (VMR) is the central control station and measurement planning software for all elements of the ATOS ScanBox. It offers the functional representation of a real measurement environment in a virtual simulation. In combination with ZEISS INSPECT, the VMR enables the execution of automated measuring procedures. You do not need any special robot programming skills. All robot movements are simulated and checked for safety before being performed in the actual environment.
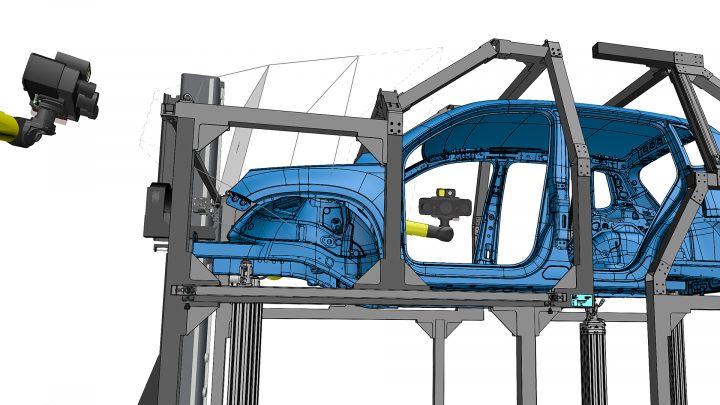
Simply Automate with the Virtual Measuring Room
More
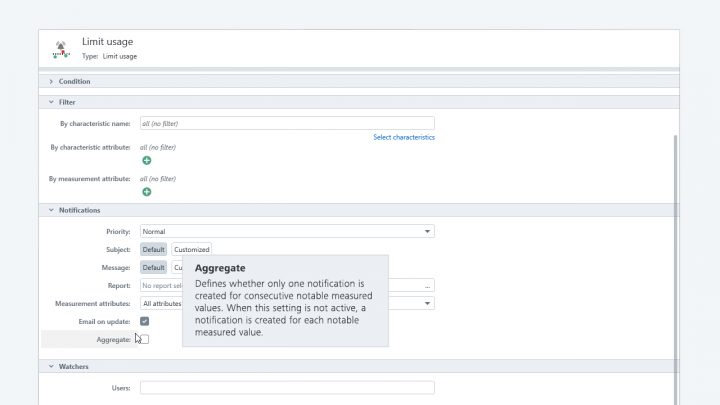
Tailor notifications to your needs
Stay informed – your way! 🔔 With ZEISS PiWeb’s improved notification controls, you decide when and how you want updates. Receive updates for measurements outside tolerance, with repeated alerts for ongoing issues. It’s now also possible to configure high-priority emails.
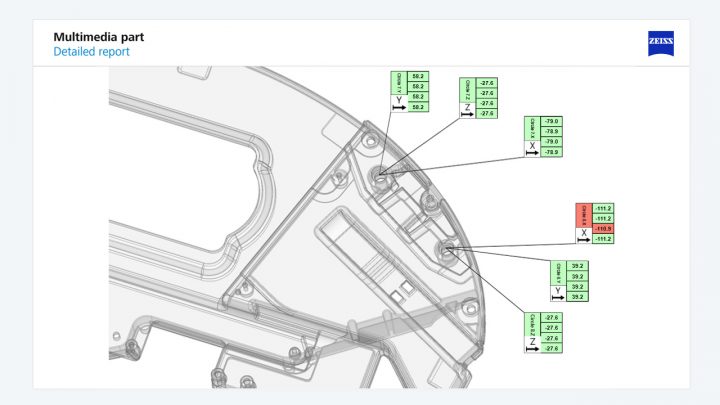
Automatically create and optimize tables
ZEISS PiWeb now lets you create and optimize tables with ease directly within the module Designer - all while saving time and tailoring layouts to your needs.
A new centralized template storage makes collaboration even smoother, facilitating the shared use via the Monitor browser app.
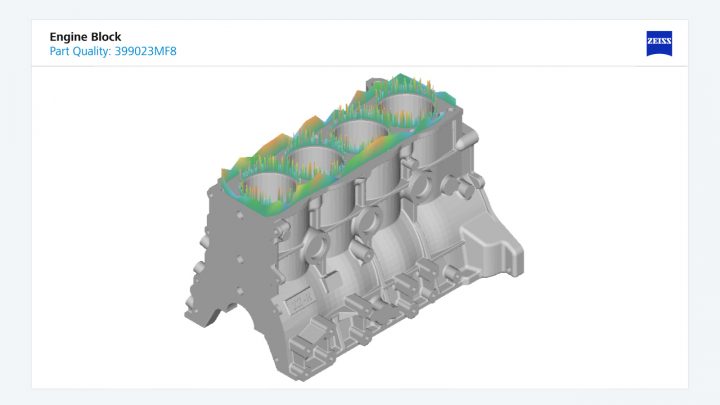
Augment the 3D CAD view with measurement results
The new release comes with exciting news for all ZEISS CALYPSO and ZEISS INSPECT users: You can now visualize form plot data directly in the interactive CAD view. Additionally, you can display mean values alongside your data.
Ready to take your data analysis to the next dimension? 🚀
New Release: What's New in ZEISS Quality Software?
We are excited to announce the new release of our software products. Curious what’s in it for you? Benefit from free video trainings, showing the highlights and improvements of the latest software version and deep diving into special features.
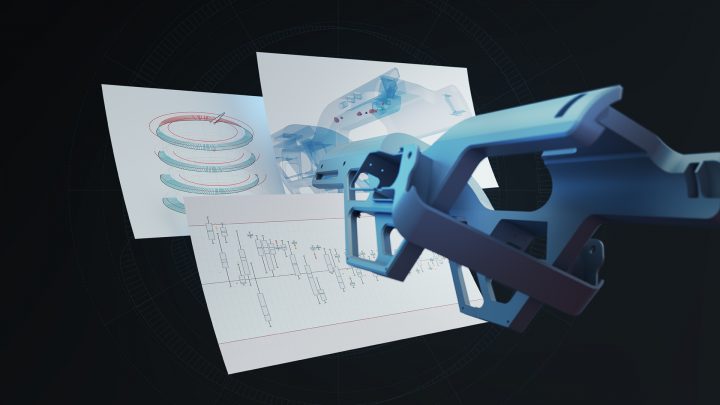
ZEISS PiWeb 2025: Transforming data collaboration and analysis
The new release of ZEISS PiWeb enhances collaboration with seamless report sharing and direct email notifications. Access data anywhere with our browser app, improving productivity and collaboration. Enhanced features simplify data interpretation, enabling quicker decision making and effective quality assurance.
What’s New in ZEISS Quality Software?
Curious about what updates this year's software release brings? Learn about the highlights and improvements in the latest software version in the videos.

New licensing technology
The new release of ZEISS INSPECT comes with the new standard licensing technology, which helps us to address security challenges, standardize license management workflows and reduce complexity for our users.
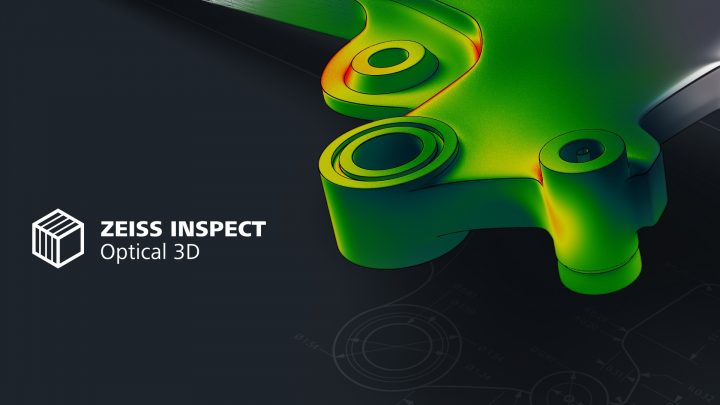
New software release: Experience the highlights
PMI import and GD&T checks, easy programming for automation, virtual clamping and helpful parametrics: Let this video inspire you with the best features of ZEISS INSPECT Optical 3D 2025.
0:20 min | view
More
New software release: All highlights
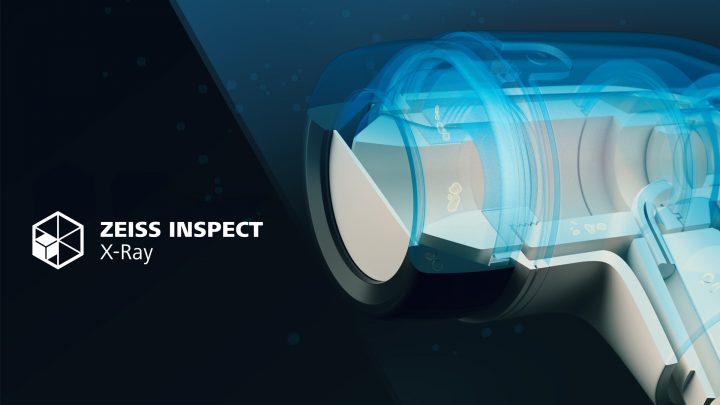
Easily evaluate multiple parts, simple inspection of multi-component parts and AI-based defect detection: Let this video inspire you with the best features of ZEISS INSPECT X-Ray.
1:27 min | view
More
New: One metrology hub!
Welcome ZEISS CONNECTED QUALITY! We are pleased to present our brand new software product family! ZEISS CONNECTED QUALITY is your solution for quick and secure data exchange, centralized quality management and efficient system monitoring.
Experience a new level of connectivity and efficiency!
1:55 min | view
Multi-X performance - precise like a CMM, elegant like a robot
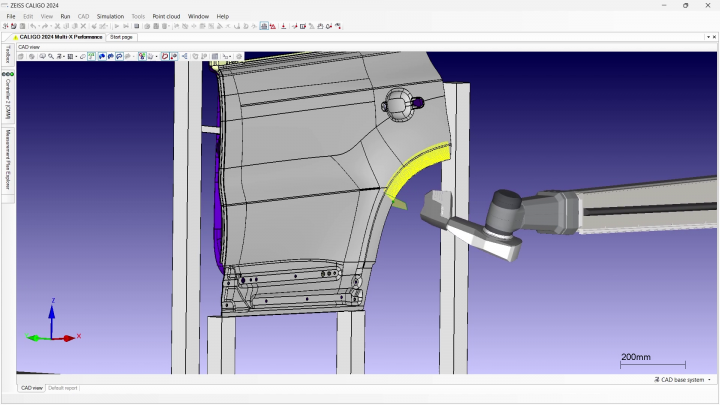
New option for ZEISS CALIGO: Multi-X Performance supports you in planning, creating and executing EagleEye scans with the highest degree of automation. The information from curves is thus automatically converted into kinematic commands for the Hambot. Multi X-Performance allows you to achieve higher system accuracy, higher quality of the point cloud and simpler and faster programming.
You can use the paid option for the measurement of freeform surfaces, e.g. part contours, gap and flush measurements, as well as for feature measurements. Test Multi X Performance now with a trial of ZEISS CALIGO in ZEISS portal.
0:15 min | view
Revealing the secrets of a part
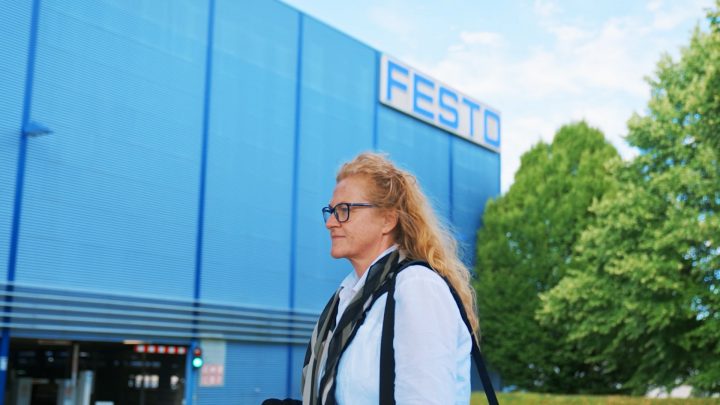
Katharina Steinlein works for the automation specialist Festo. She is responsible for all quality inspections in the field of materials analysis and measurement technology.
If problems with a component arise in production, she and her team analyze what has happened to it. Almost like detectives, they set out to find the cause of the failure in order to solve problems sustainably. In the course of her work, quality standards are defined using CT technology and the ZEISS INSPECT inspection software.
0:24 min | view
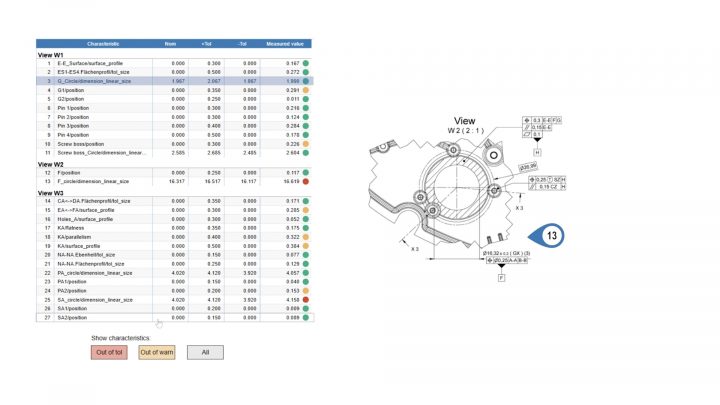
Interactive Reports in Production
Build the bridge between the different worlds of production and quality management with interactive reports! ZEISS PiWeb allows you to create reports that give operators in production a clear overview of quality results: for example, you can integrate ballooned drawings with measurement results.
0:22 min | view
More
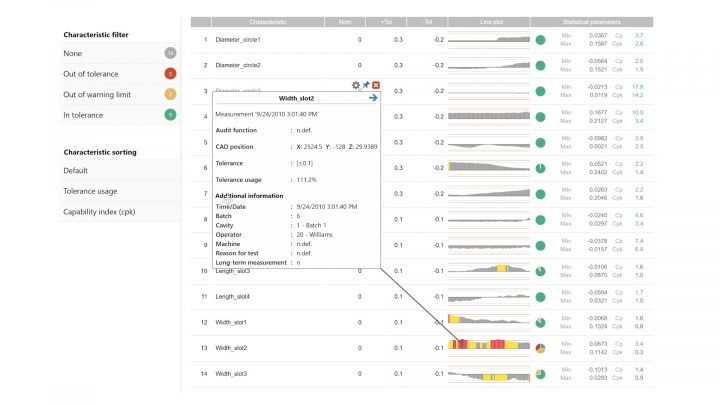
Interactive Dashboards with Statistics
Want to speed up your evaluation process even more? Create customized generic reports that can be applied to parts in your production process. This way, you can create a statistical dashboard with all your relevant statistical analyses. Simply select the part and data you want to evaluate.
0:26 min | view
More
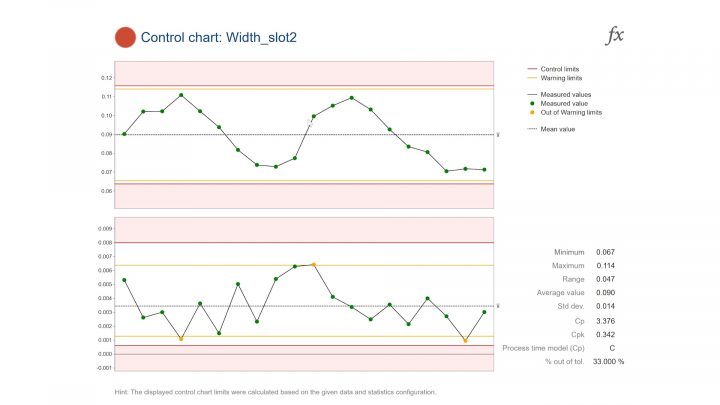
Powerful Statistics with Detail Pages
ZEISS PiWeb supports you with any kind of statistics that help tracking your production quality! Detail pages enable a myriad of visualization possibilities of your statistics. Incorporate useful tools such as box plots, histograms, trend lines and bar charts. Have you tried it yet?
0:41 min | view
More
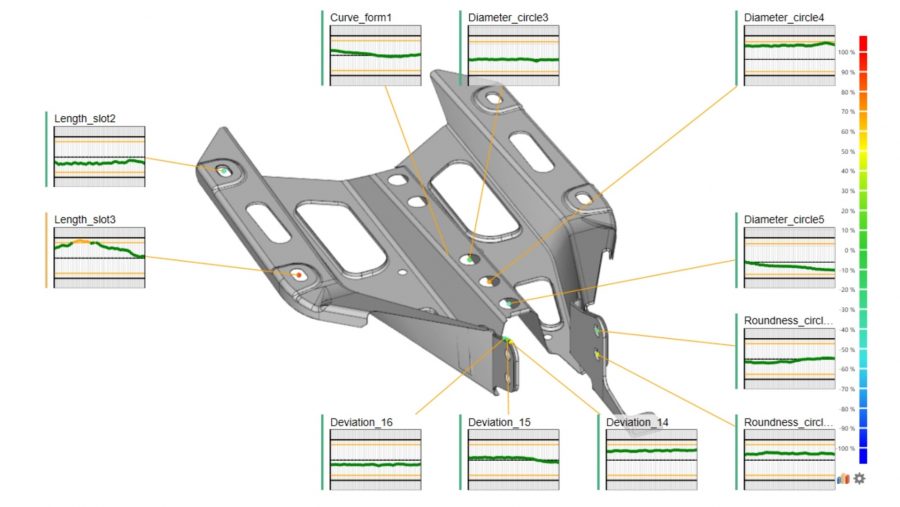
Interactive CAD Models
Do you know the most intuitive way to connect quality results to their respective parts?
ZEISS PiWeb allows you to directly integrate CAD models into a report. Best of all: they are interactive!
0:28 min | view
More
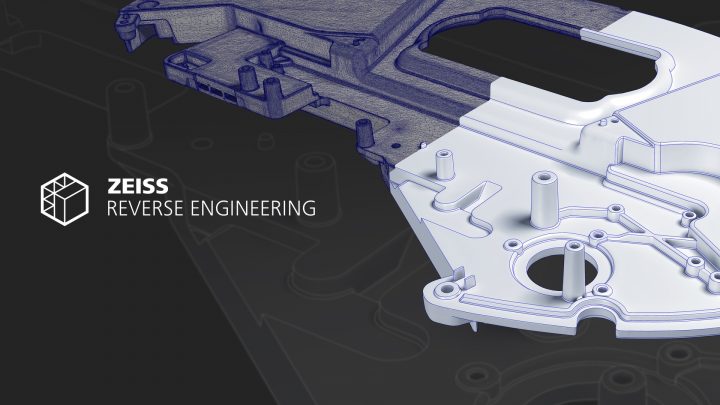
Free trial: CAD-modelling with ZEISS REVERSE ENGINEERING
Want to create CAD models quickly and simply from polygon meshes or point clouds? Or need to reduce tool optimization iterations and mold making? Do you want to improve your CAD data for additive manufacturing?
All this is possible with ZEISS REVERSE ENGINEERING! Simply edit your measurement data in the software to get a watertight CAD. The software will guide you through the workflow step by step no matter which shape your component has.
Watch the video to find out more!
And don't forget to activate your 14-day trial period in the ZEISS Quality Software Store!
1:36 min | view
More
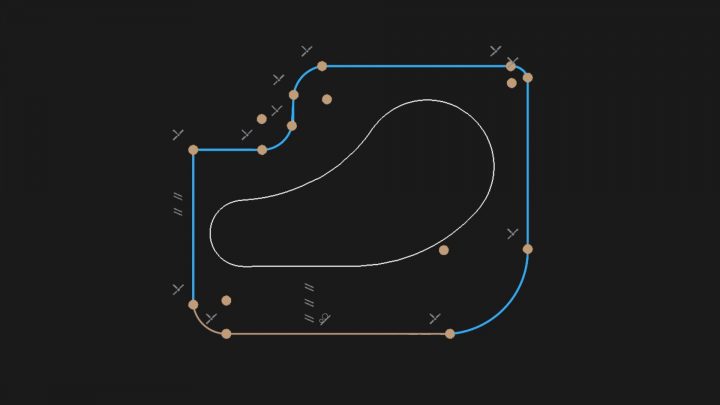
New sketching feature: Even faster CAD modelling!
The new feature saves you even more time when creating your CAD model – especially when it comes to complex geometries. Want to know how it works? Sketches are created in sectional planes, which are optimized by defining dimensions and constraints. In a final step, the bodies can be created from the sketches with one simple mouse click.
Watch the video to see how it looks in the software.
1:12 min | view
More
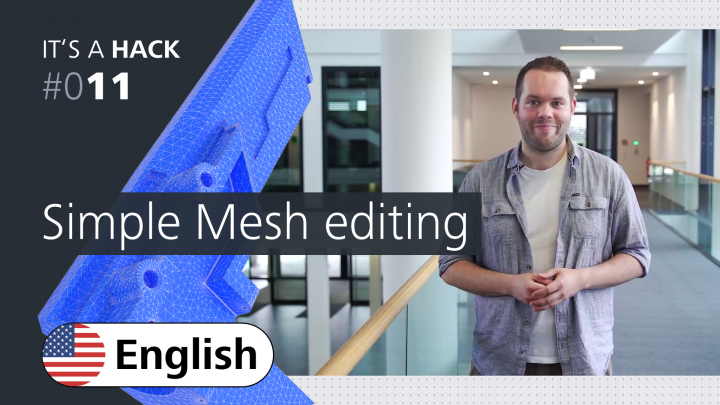
It's a Hack: Simple Mesh Editing
How do I actually edit a web in ZEISS INSPECT, for example when I want to create a 3D print of my part? Our trainer Daniel Melching explains it to you in this video.
8:36 min | view
More
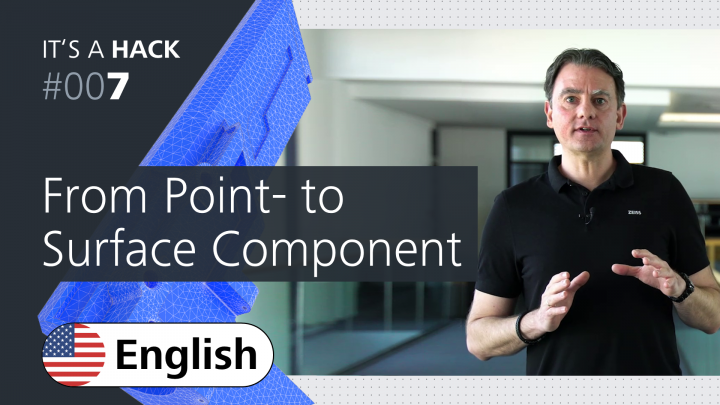
It's a Hack: From Point to Surface Component
Have you ever produced a surface evaluation in ZEISS INSPECT based on a point component? We'll show you how it's done in this video.
6:56 min | view
More
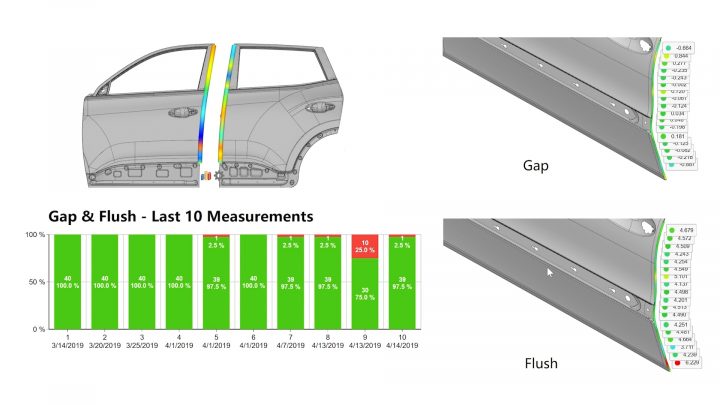
Getting all the Details with Drill-Down Reports
It can be hard to find the most relevant information in standard reports. Break down your quality data to the smallest detail with linked reports. Really “drill down” your data from high-level production KPIs to single measurement values and quickly identify problem areas.
Find an example in the video.
0:27 min | view
More
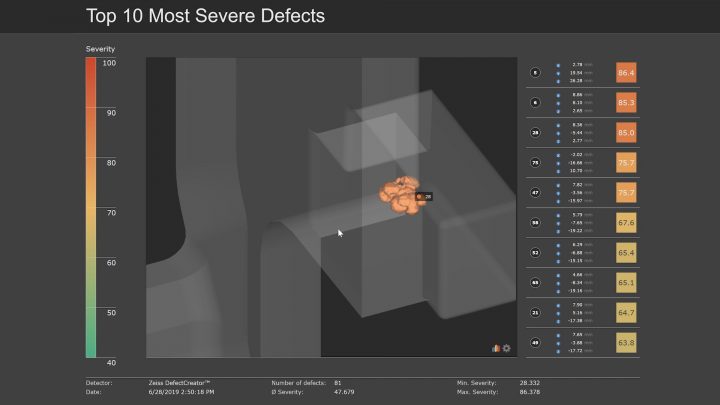
Show Information beyond Traditional Results
Traditional, standard report templates don’t suit your requirements? No problem with ZEISS PiWeb! Integrate 3D surface or flush & gap analysis, form plots, section views or images into your reports. Even internal defect analysis from CT scans can be integrated effortlessly. Turn a bad result into a quick action!
0:33 min | view
More
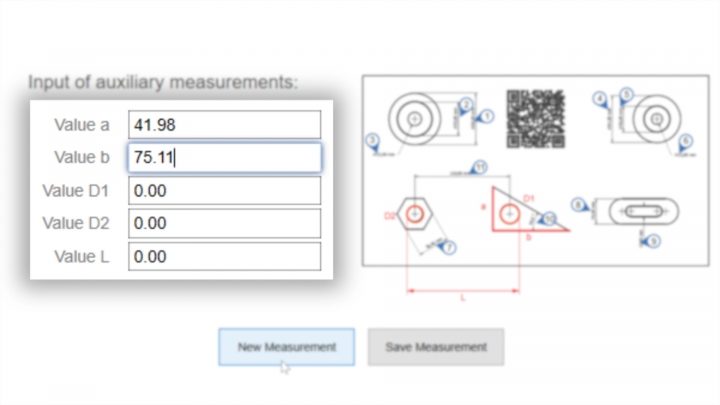
Manual Data Entry
Want to imbed a CAD or a ballooned drawing into your reports? Or create mandatory input fields, generate QR codes or barcodes? Need to create, approve or block measurements? We have you covered.
Use the manual data entry function to enter your information directly in PiWeb monitor. You can also connect your manual device with a digital interface to PiWeb to add the values. Take advantage of the full flexibility to digitize manual processes!
0:23 min | view
More
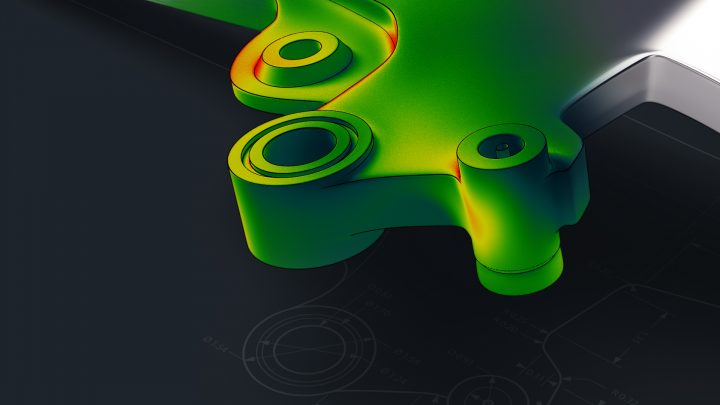
Your Top Features of ZEISS INSPECT Optical 3D
CAD import, trend analysis or the very helpful parametrics: Let this video inspire you with the best features of ZEISS INSPECT Optical 3D.
1:21 min | view
More
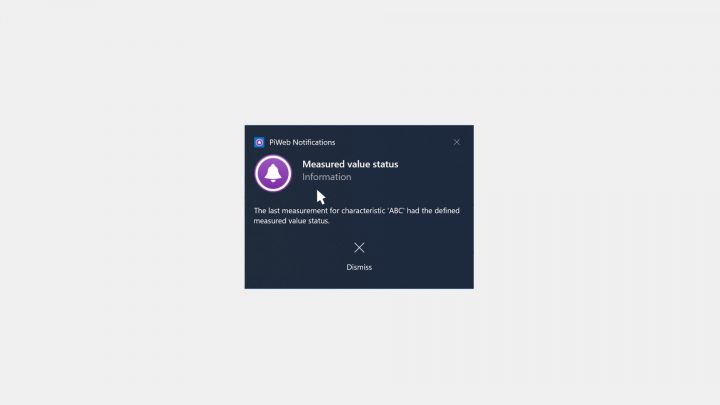
Active Quality Notifications
ZEISS PiWeb is more than just a reporting software! Use the Notifications module and get informed automatically via email or desktop client when parts or characteristics trend out of tolerance. How? The integrated event handler actively compares incoming quality data against defined rules, and thus, immediately informs the responsible person.
Watch the video to see how it looks like in the software!
0:18 min | view
More
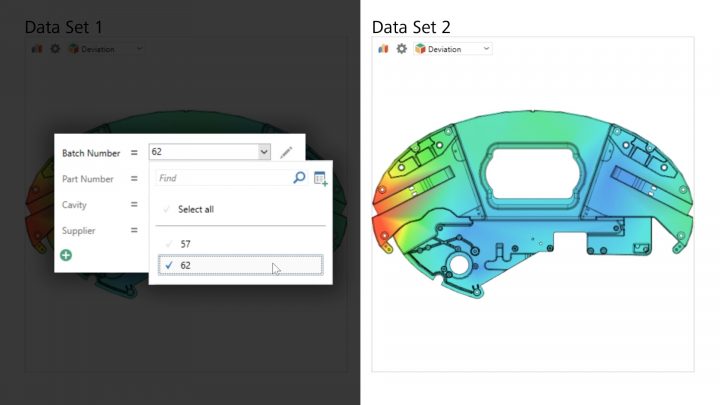
Dynamically Filter Data
How does the quality look like at machining center 1? How was the quality yesterday during the night shift?
Do you often need to answer ever-changing question arising in production? See in the video, how to apply multiple filters to interpret mountains of data.
0:38 min | view
More
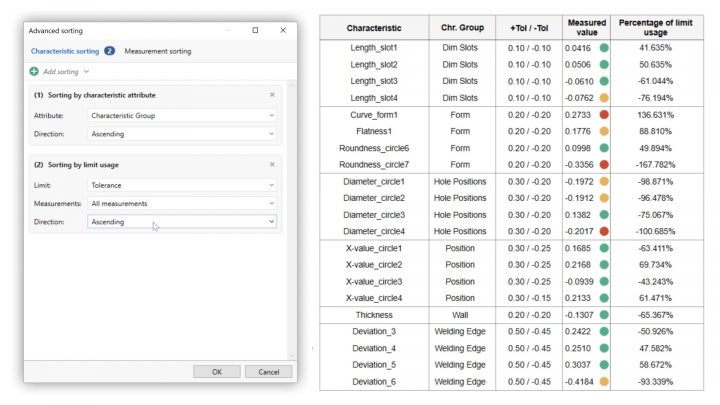
Quickly Sort Data
The sorting function helps you to effortlessly prepare results exactly how you want them. The sky is the limit! For example, you can sort a single measuring result via tolerance to show characteristics that need the most attention first or sort multiple results by an attribute like lot number.
0:22 min | view
More
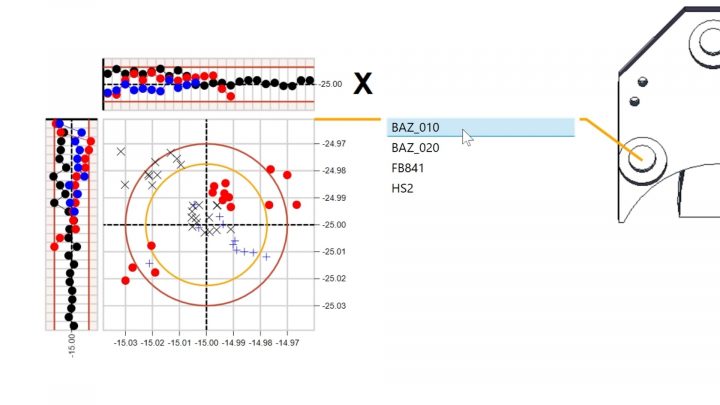
Easily Group Data
Analyze your measurement data easily and quickly without being a software expert. With ZEISS PiWeb, it is as easy as pie to group data based on available quality data characteristics. For example, you can compare the quality between mold cavities.
Find out more in the video!
0:31 min | view
More
Download the new ZEISS INSPECT Interface
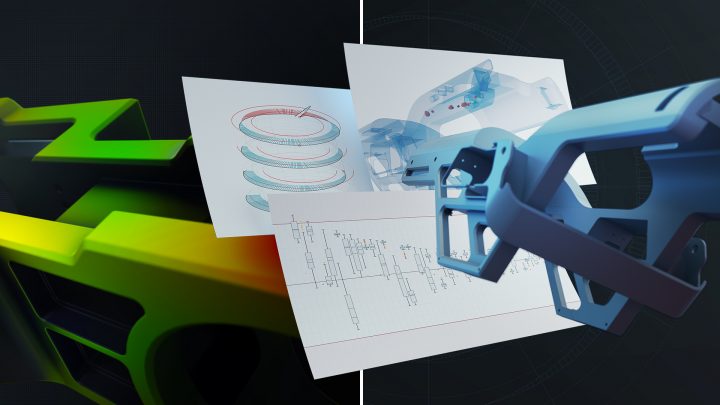
Do you already use both our software solutions – ZEISS INSPECT and ZEISS PiWeb? Then make your life easier with the new app! The upload interface makes data transfer from INSPECT to PiWeb a no brainer.
Simplify your data transfer to the measurement reporting and analysis software ZEISS PiWeb with the free App: ZEISS PiWeb Upload Interface. With a focus on usability and simplicity we are happy to deliver on this requirement with a free direct interface for our INSPECT & PiWeb customers.
Get the app and benefit from:
- A simple to use configuration GUI for the transfer of measurement data to PiWeb on-premise or cloud solutions
- Create and define your own project keywords or element keywords and transfer them to PiWeb
- Transfer numerical as well as other additional data such as 3D surface scans
More
eLearning De-Warp – Virtual Clamping of Rigid Parts
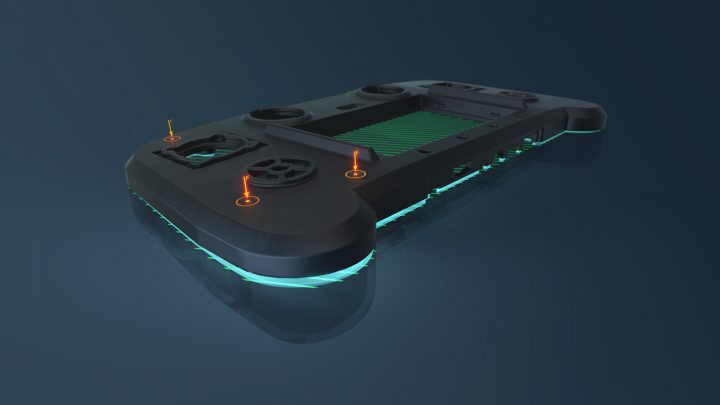
Part distortion due to warpage can be the cause of a part not fulfilling its function. If it is within an acceptable range, part distortion is uncritical and can be eliminated during subsequent assembly. In this new training course, you learn how to bring an actual mesh measured in an unclamped state to a clamped state and do it completely virtually using the De-Warp package. This way, it is possible to assess the part in the installation situation although it has been measured unassembled.
REVERSE ENGINEERING Basic eLearning
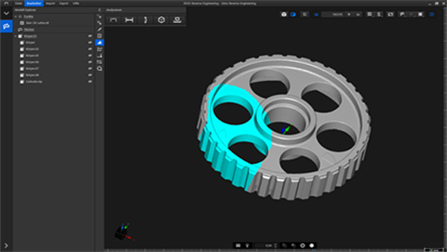
Book our Basic eLearning now! It teaches you everything you need to know to get started using ZEISS REVERSE ENGINEERING - from an introduction to the user interface to reverse engineering complete parts. During the training, you will for example learn about the basic functionalities to perform automatic surface reconstructions as well as detailed functional-oriented reconstructions and will apply them yourself.

App De-Warp: Virtual compensation of warpage
This package removes distortions virtually and allows you to assess warpage of plastic parts. Instead of using clamping devices to measure a part in its assembled state you can define virtual fixing points and gather a lot of additional information. De-Warp is a real innovation for the quality assurance of plastic parts.
De-Warp can be used with ZEISS INSPECT Optical 3D and ZEISS INSPECT X-Ray. As a Pro user it is automatically available for you in the Package section. If you are working with the free software and are interested in De-Warp, you can start your 14 day trial of the Pro version now.

Get Your Trial Version Now!
Would you like to try out all the advantages of ZEISS INSPECT for yourself? Then take the opportunity now and get a free 14-day trial version. Simply navigate here in the ZEISS Quality Suite to the desired software and click "Trial/Free".
More
Download now: Whitepaper Geometric Dimensioning and Tolerancing (GD&T)
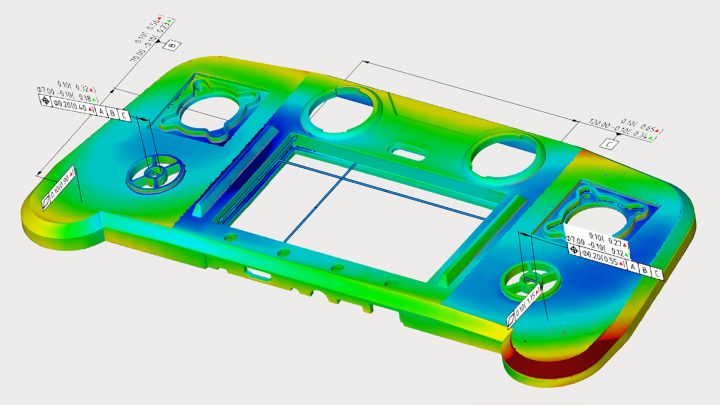
Would you like to increase the quality of your produced parts and reduce costs? Then read all about form and position tolerances in our new whitepaper. You will learn about the advantages of form and position tolerances and the categories they fall into, what tolerance zones are and how to interpret tolerances correctly.
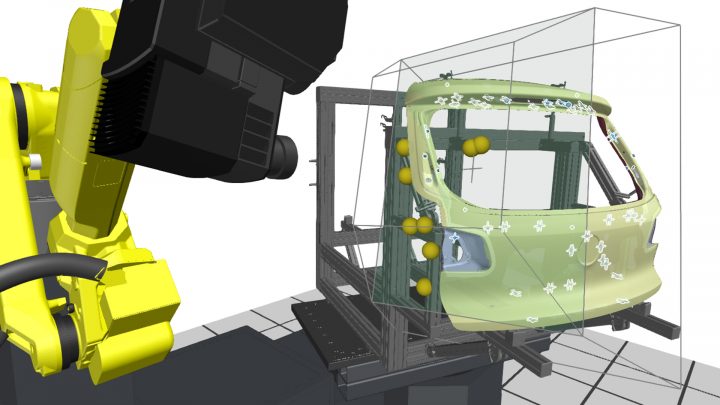
eLearning: Automated Sheet Metal Inspection
In this eLearning you will learn how to measure all kinds of holes, trimmed edges and hemmed edges correctly. Also, the measurement of beveled surfaces and bolts can be practiced. After visiting the training course, you will be able to deal with most potential upcoming issues in an efficient and reliable way.
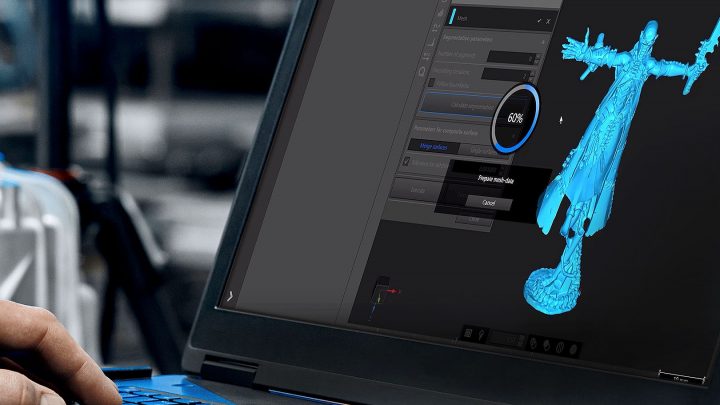
Reverse Engineering for Organic Shapes
The software is equipped with special engineering tools for accurately remodeling flowing, organic shapes. The best thing about this is: It takes only a few clicks from importing the scan data to the complete 3D model – even in case of sophisticated object designs. Watch this video to see how it works.
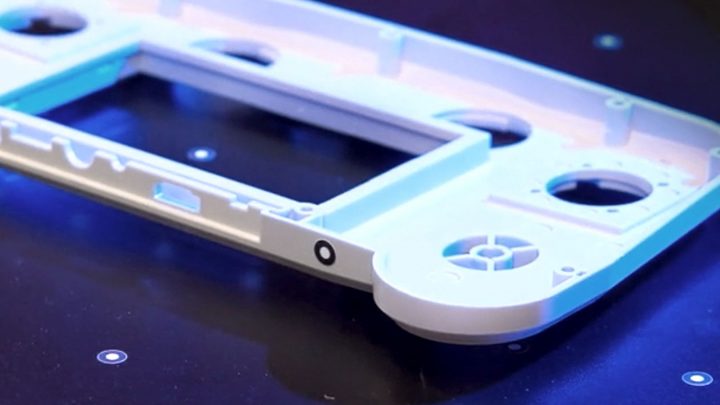
Reverse Engineering for Geometrical Parts
Powerful functions for components with standard geometrical shapes: Export your data into ZEISS REVERSE ENGINEERING and get busy creating, combining, extracting and adjusting them. The software guides you through the entire process – until you achieve exactly the result you want. Watch the video to learn more!
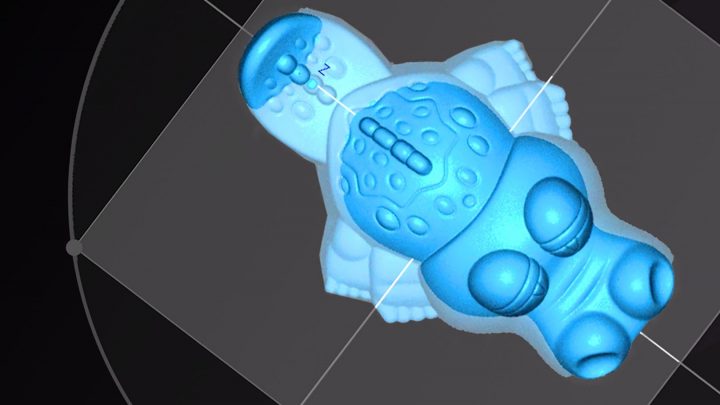
Accuracy for Freeform Surfaces
ZEISS REVERSE ENGINEERING offers various functionalities for achieving highly precise freeform surfaces. For instance, use “Surface approximation to points” when converting your data, and let the software guide you through the process step by step until your component has been created. Watch the video to see how it works.
2:19 min | view
More
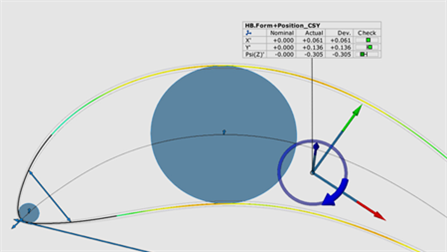
INSPECT Airfoil Basic eLearning
We have developed a basic training that will guide you through all the essentials of working with ZEISS INSPECT Airfoil - from opening the software for the first time to reporting and exporting your final results. In addition to explaining all fundamental tools of ZEISS INSPECT, this training also covers the underlying recurring concepts and workflows, so that you will feel confident to tackle your very own inspection tasks. During the training, you will learn how to inspect entire parts consisting of airfoils and subcomponents, such as roots, discs, hubs and shrouds.
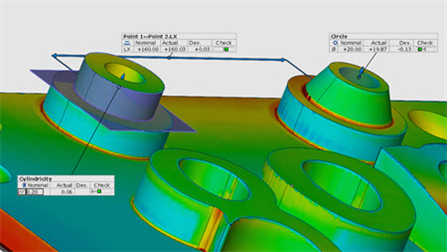
INSPECT Optical 3D Basic eLearning
Taking the first steps in a new software environment can feel overwhelming. Therefore, we have created a basic training that guides you through all the essentials of working with ZEISS INSPECT Optical 3D – from opening the software for the first time to reporting and exporting your final results.
This training will not only explain all the fundamental tools of ZEISS INSPECT, but will let you see the underlying recurring concepts and workflows, so that you will feel confident to tackle your very own inspection tasks. During the training, you will perform inspections of increasing complexity and analyze, for example, the distances, diameters and angles of measuring objects. You will also learn how to create and use templates, how to perform alignments, how to create reports and how to identify and solve common problems on your own.
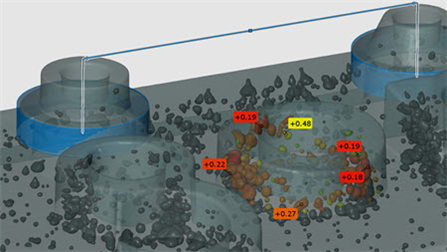
INSPECT X-Ray Basic eLearning
This basic training takes you through all the steps to inspect and evaluate a volume in ZEISS INSPECT X-Ray. Whether you just want to look at slice images or create a complete surface mesh to check distances and other dimensions.
You will not only learn all the basic tools of ZEISS INSPECT, but also the recurring concepts and workflows that are the basis of the software. Starting with the volume, a surface mesh is created first and simple inspections are applied to it. Gradually, more complex inspections and other helpful elements of the software will be introduced and the use of them will be practiced. Different visualization options and reporting is also part of the training. In the end, you will be able to perform inspections on your own volume data.
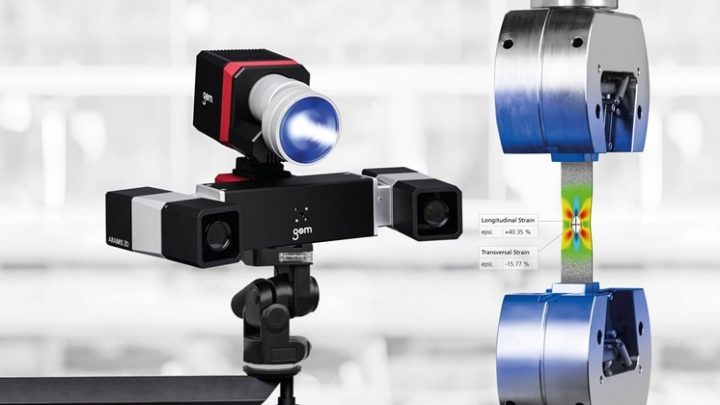
ARAMIS 3D Camera Systems: For 3D Analyses Without Compromise
ARAMIS SRX is a high-resolution 3D camera system for dynamic measurement of 3D coordinates, 3D displacements and surface strain. A performance of up to 2000 frames per second, combined with high stability, process reliability and usability make ARAMIS SRX an ideal measuring system for product development, materials research and component testing.
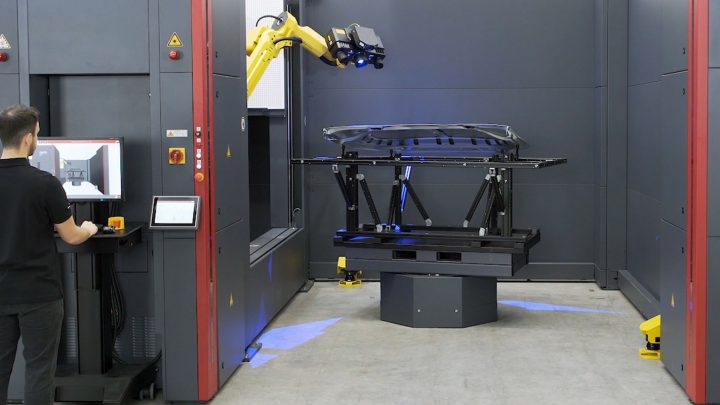
ATOS ScanBox Series 6: High Throughput in the Production Environment
The ATOS ScanBox is a complete optical measuring machine that was developed for efficient quality control in production and manufacturing processes. The ATOS ScanBox Series 6 delivers precise and traceable results, guarantees high throughput and is easy to use thanks to its intuitive user interface and the virtual measuring room (VMR), which functions as a central control and measurement planning software.
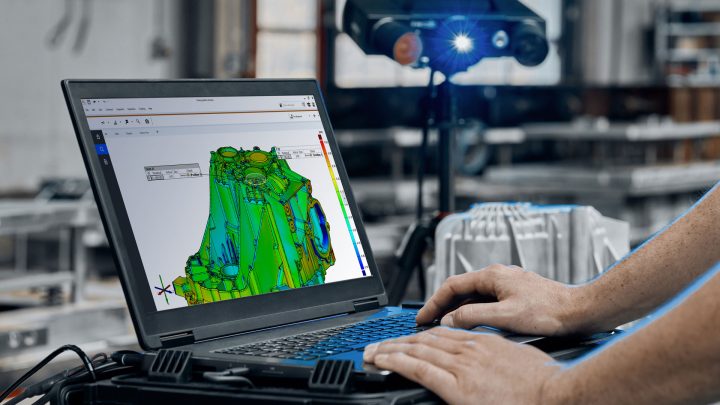
Quality Starts with a Q. ATOS Q.
The ATOS Q sensor is mobile, versatile and therefore perfectly suited for complex measurement and inspection tasks. The compact system meets high metrological demands. Do not hesitate to contact us for further information or requesting a demo—online or on site.
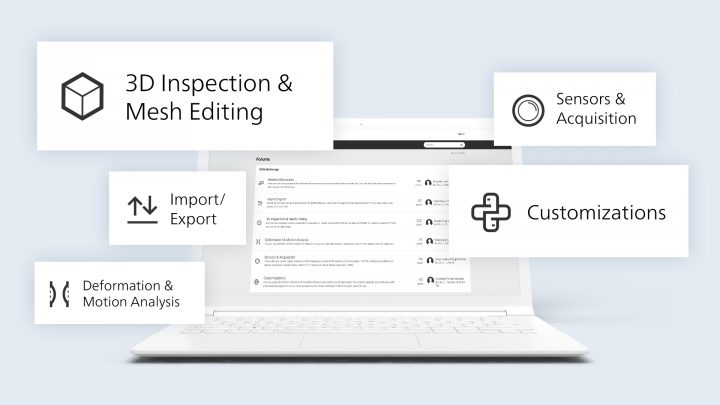
Directly Exchange Ideas with Users in our Forum
Do you have questions about functions of ZEISS INSPECT Airfoil and want to exchange experiences with other users? Then the ZEISS Quality Forum is the right place for you. In the subforum “3D Inspection & Mesh Editing”, you will find what you are looking for. Simply navigate to the "Forum" tab on the left-hand side.

Directly Exchange Ideas with Users in our Forum
Do you have questions about functions of ZEISS INSPECT X-Ray and want to exchange experiences with other users? Then the ZEISS Quality Forum is the right place for you. In the subforum “3D Inspection & Mesh Editing”, you will find what you are looking for. Simply navigate to the "Forum" tab on the left-hand side.

Directly Exchange Ideas with Users in our Forum
Do you have questions about functions of ZEISS INSPECT and want to exchange experiences with other users? Then the ZEISS Quality Forum is the right place for you. In the subforum “Deformation & Motion Analysis”, you will find what you are looking for. Simply navigate to the "Forum" tab on the left-hand side.

Directly Exchange Ideas with Users in our Forum
Do you have questions about functions of ZEISS INSPECT and want to exchange experiences with other users? Then the ZEISS Quality Forum is the right place for you. In the subforum “3D Inspection Mesh Editing”, you will find what you are looking for. Simply navigate to the "Forum" tab on the left-hand side.
More
Mastering the basics: Your Starter Guide
Do you want to analyze CT data? In our Starter Guide for ZEISS INSPECT X-Ray, you learn basic knowledge for working with the software. It guides you through the volume inspection workflow from data import all the way to reporting your results. Watch the whole playlist!
Mastering the basics: Your Starter Guide
In our Starter Guide ZEISS INSPECT Airfoil, you learn basic knowledge for working with the software. It guides you through the entire blade inspection workflow from data import all the way to reporting. You will learn how to set up a project, what you need to inspect airfoils, how to perform profile inspections, how to perform profile form & position inspections and how to inspect surface defects. Watch the whole playlist to learn it all!
Mastering the basics: Your Starter Guide
Are you new to ZEISS INSPECT Correlate? In our Starter Guide, you learn basic knowledge for working with the software. You are guided through the inspection workflow of surface and point components all the way to reporting your results. Watch the whole playlist!
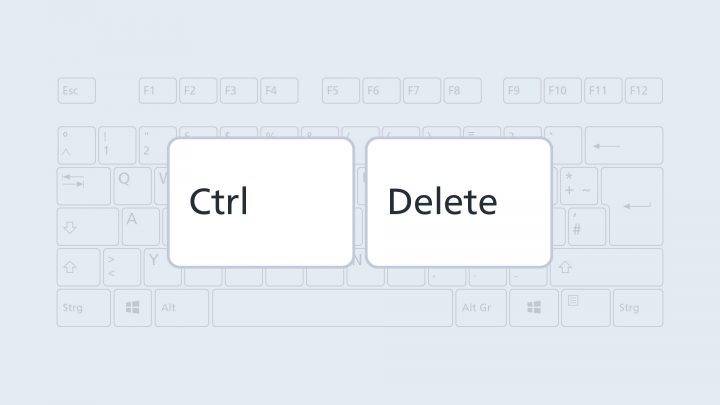
Shortcut: Delete Selection
If you press Ctrl + Del, you delete the selected 3D area.
More
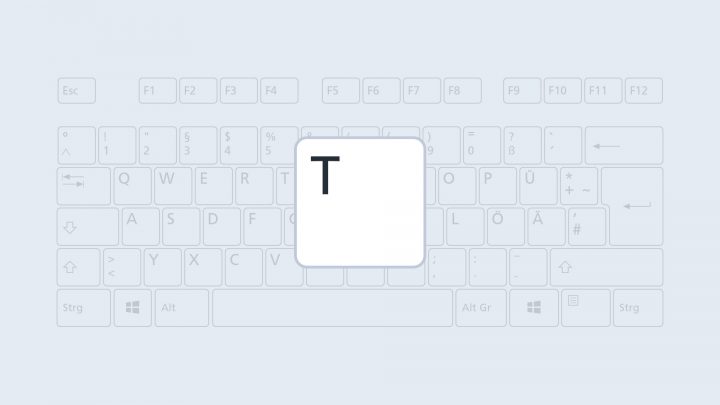
Shortcut: Create/Edit Tags
If you press the T key, you can create and edit tags within the software.
More
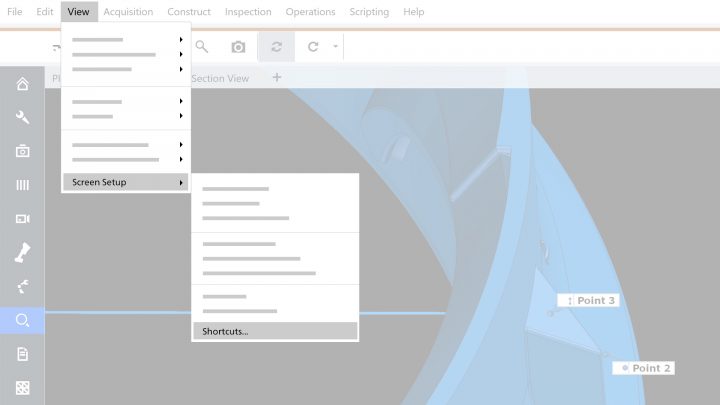
List of Shortcuts for the Software
Would a list with key combinations within the software help you? Simply enter "shortcuts" in the search field of the direct help (top right corner) to get a list with some useful shortcuts. Go to View → Screen Setup → Shortcuts to view the shortcuts for the individual workspaces.
More
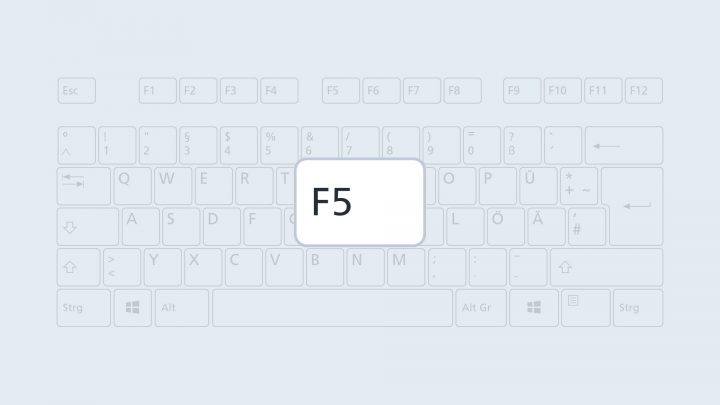
Shortcut: Fast Presentation Mode
Did you know that you can easily present your results with just one key combination? Just press the F5 key at any stage of you project to open the presentation mode. Here, you have easy access to all report pages.
More
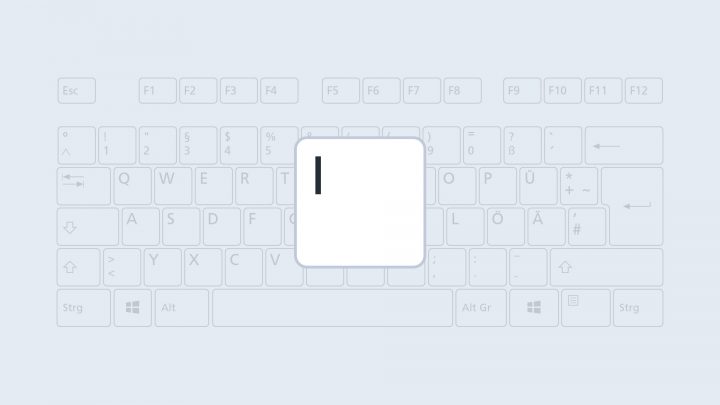
Shortcut: Hide Single Element
If you press the I key, ZEISS INSPECT hides the element that is selected in the explorer.
More
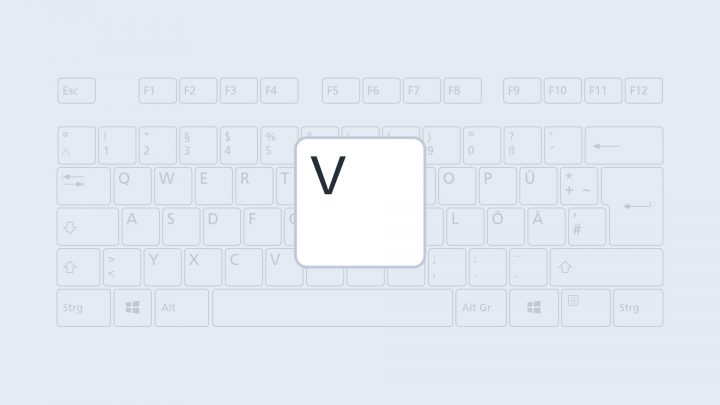
Shortcut: Show Element
If you press the V key, ZEISS INSPECT shows the element that is selected in the explorer.
More
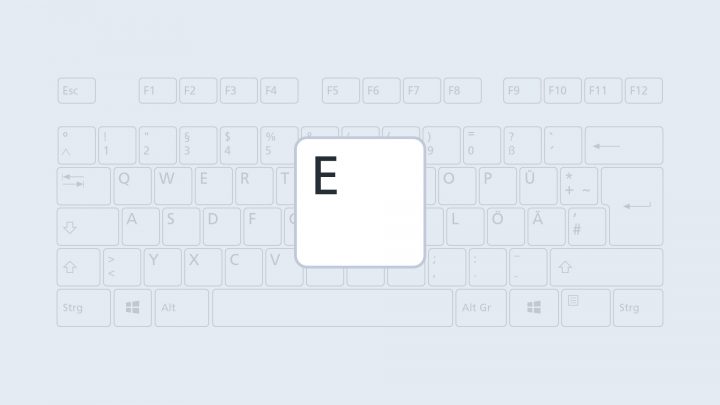
Shortcut: Display Element Exclusively
If you press the E key, ZEISS INSPECT shows only the element that is selected in the explorer. The software hides all other elements.
More
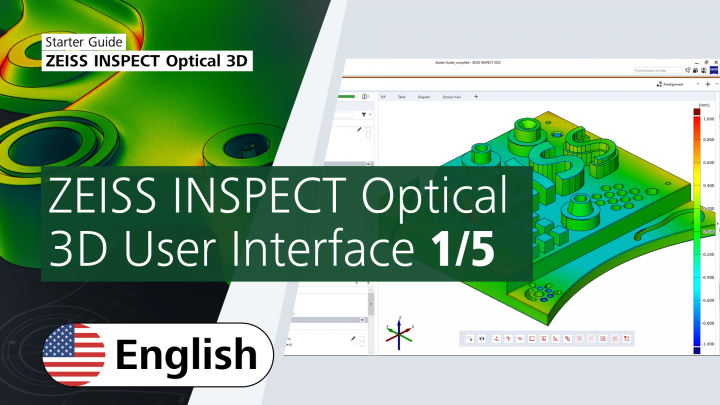
Mastering the basics: Your Starter Guide
New to ZEISS INSPECT Optical 3D? Our Starter Guide shows you all the basics: How to navigate the interface and work with the software to inspect parts. It guides you through the inspection workflow from data import all the way to reporting your results. Watch the whole playlist to know more about the software's capabilities. You will be able to perform simple and dimensional inspections and create comprehensive reports.
Individualize Your 3D Toolbar in ZEISS INSPECT
Add any element via drag & drop to your 3D toolbar. You can easily move single elements or merge them to one folder with your mouse. To delete elements from the 3D toolbar, drag & drop them on the recycle bin. You can also reset the 3D toolbar to default settings by clicking the right mouse button.
More

How to Create a CAD Without CAD Data
Import a mesh and select this mesh. Go to Operations → CAD → Actual Mesh to CAD to create your CAD file. You only have to import your actual mesh ("Add to part") to start the inspection.
More